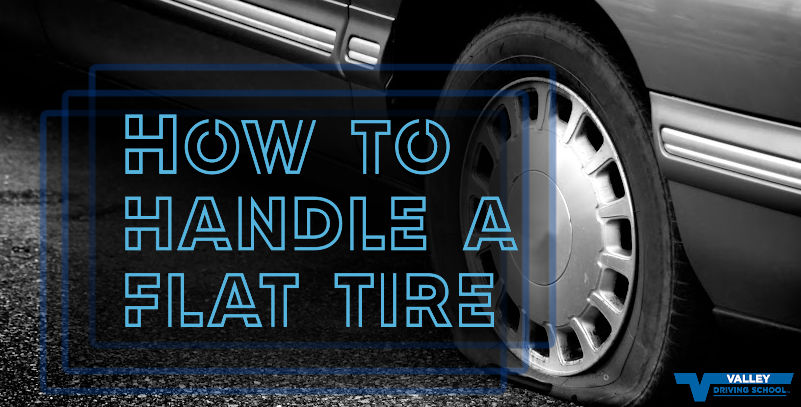
How to Handle a Flat Tire
The realization that your vehicle has incurred a flat tire can be unnerving and cause panic, especially if it happens while you’re driving. You can also get a flat tire between drives, which is one of the reasons that it’s important to do a pre-trip check before you hit the road. We’re breaking down the aftermath of having a flat tire so if it does happen to you, you’ll be prepared and can skip the panic stage!
When You’re Driving
The very first thing to consider is your safety so you’ll want to put your hazards on immediately. Maintain control of your vehicle and, once you’re able to, pull over where it is safe to do so. Remember, your hazards are on so do not turn or switch lanes while other vehicles are approaching – they will not know which way you’re turning.
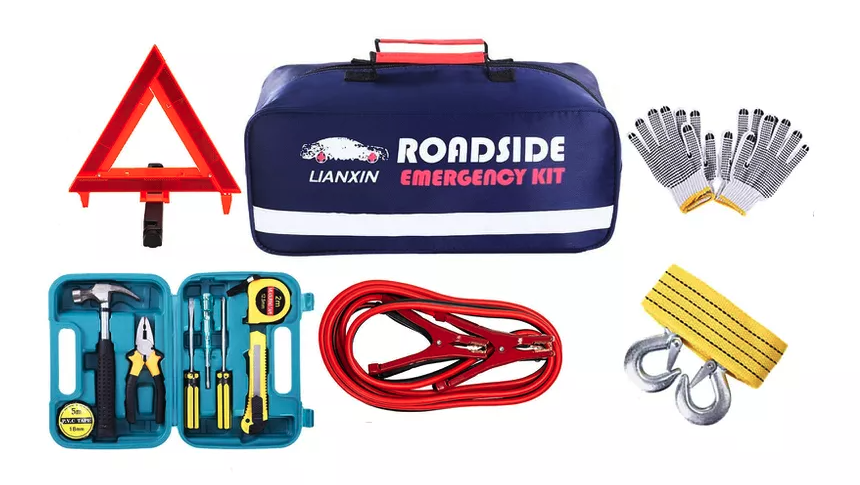
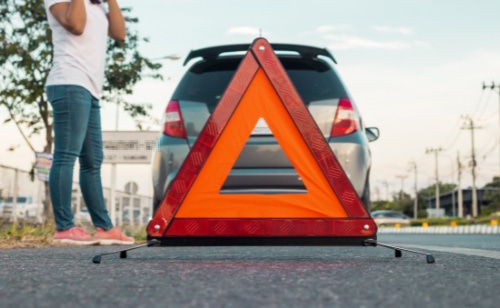
Ideally, you want enough room to be able to perform the above steps without putting yourself in danger of oncoming traffic. It is a good idea to carry a flashlight and emergency warning signs or devices for scenarios such as this. Flashlights will allow you to get a closer look in poor lighting conditions, while emergency warning signs allow you to block off the area around your vehicle so that others know you need the space to work in.
Once You’ve Stopped
You may also notice a flat tire as you complete your pre-trip check. Fortunately you can skip out on the emergency situation part of a flat tire and just get right down to getting it fixed! These will be the same steps once you have pulled over safely after handling a sudden flat tire while driving.
To change the tire yourself, you’ll need:
- A spare tire or donut
- A car jack
- A lug wrench
- Your owner’s manual
Some new vehicles are equipped with all the supplies needed to change or patch a tire, consult your owner’s manual to see if yours does and find out where the supplies are if so. It’s good to know where this is ahead of time, or carry a kit with the tools needed.
Once you’ve located everything you need, but before you start to dismantle your tire, ensure that you apply your parking brake and put your vehicle into either Park or 1st gear (if standard) – do not leave it in Neutral. This will minimize the possibility of the vehicle rolling or moving while you are changing the tire. proceed with the following steps.
1) Take off the hubcap or wheel cover.It’s easier to do this now rather than after you’ve jacked up your vehicle. Hubcaps typically cover your lug nuts which you will need to loosen to remove your tire. Some vehicles may require a specific tool just for this so if you’re having difficulty, check your owner’s manual. If you happen to not have a hubcap or wheel cover you can go ahead and skip this step!
2) Use the lug wrench to loosen the lug nuts once you’ve exposed them. To break the initial resistance, you’ll want to attach the wrench to the nut and turn counter-clockwise until you feel a release. It’s very likely that these will be secured tightly so you’ll have to put a lot of force into it! Use your body weight if necessary until you’ve loosened them a quarter or half a turn. DO NOT REMOVE THEM COMPLETELY JUST YET. You’ll do this once you’re ready to take the wheel off the vehicle.
Some vehicles have locking lug nuts, which require a special wheel lock key to unlock and loosen. If your vehicle attends its regularly scheduled maintenance appointments, this is used every time the tires get rotated or changed, so it shouldn’t be too hard to find. Your owner’s manual will tell you whether you have locking lug nuts or not, and the wheel lock key is typically stored in the glovebox.
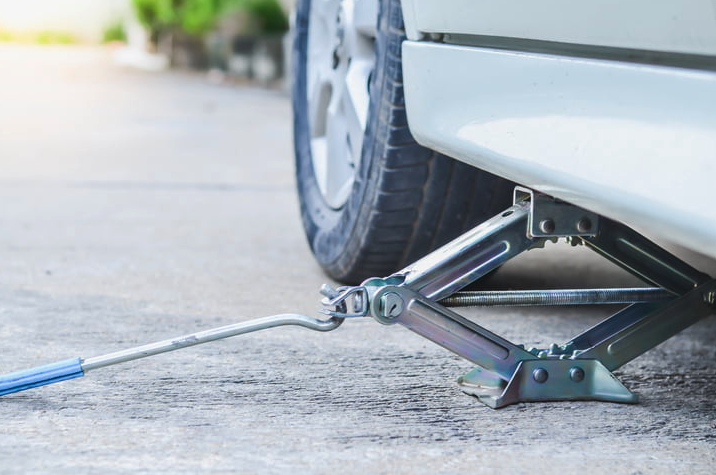 3) When all the lug nuts are loosened, position your car jack beneath the vehicle frame alongside the flat tire. Your owner’s manual will likely recommend exactly where to line it up. If you have a hydraulic jack, you’ll insert the handle in and move it in an up and down motion to lift your vehicle. If it’s a scissor jack, you’ll insert the rod into the handle and crank it to lift.
4) After the vehicle has been securely lifted, you can go ahead and remove the lug nuts. Be sure you place them in a safe area, you’ll need them all again shortly.
5) Remove your flat tire by pulling it straight out and off its axle.
6) Install the donut or spare. Take time to make sure the rim of the spare lines up with the wheel bolts so that they are not installed backwards. You’ll know if you have the correct side if you see the valve stem facing outwards (away from the vehicle).
7) Screw on the lug nuts by tightening each one little by little, by hand, in a star pattern until all of them are secured. Do not tighten each lug nut fully in one go, this could create tension and result in an unbalanced tire.
8) Carefully lower the vehicle back down and remove the jack by sliding it out from underneath the vehicle. It should move freely and easily if the vehicle is completely lowered.
9) Tighten the lug nuts again, using the wrench, ensuring all lug nuts are securely fastened.
10) Check the tire pressure on your spare or donut, and stop as soon as you can to fill it up if needed.
The Aftermath
Donuts are not made to drive at high speeds or for long distances. Most are only rated for a max speed of 80 km/hr and driving any faster puts you at risk of yet another flat tire. Your next step after getting the spare tire or donut affixed, should be to have your original tire repaired or replaced. Any tire shop or mechanic will be able to diagnose the damaged tire and lay out your options for repairs or replacement.
If you need to replace your tire altogether, weigh the options in regards to replacing the single tire, or a pair. The best option for you will vary depending on if your vehicle is two-wheel or four-wheel drive, if you need to replace a front or rear tire, and how much tread is remaining on your other tires.
Safety First!
If it is not possible to change the tire safely, you are not confident, or are not prepared with the proper tools, call for roadside assistance. As soon as your vehicle has come to a complete stop, call your roadside assistance provider or a local tow truck company. Be sure to keep your hazard lights on until help arrives to let other drivers know that you are unable to move, and to signal your location to the service vehicle that will be looking for you.

Depending on the time of day, weather conditions, and traffic conditions, you may be able to help your roadside assistance by holding an umbrella, a flashlight, or staying close by to hand over tools. Tow truck drivers are experts, but staying close to lend a hand if needed is a kind gesture!
—
Whether you have come across a flat tire on your parked vehicle or hit a pothole on the freeway, knowing the steps needed to change your tire or call for help is an important part of being a safe and responsible driver!
Related Articles

How Car Driving Lessons Make Roads & Drivers Safer
Looking to build lasting confidence behind the wheel? Discover how car driving lessons sharpen observation skills and make BC roads safer for everyone.

Upcoming Changes to the Graduated Licensing Process
ICBC’s Graduated Licensing Program is being updated for 2026: skip the Class 5 road test and complete a 12-month safety period. Learn more about the timelines and next steps.

Technology on the Road: Driver Aids & the ICBC Road Test
Innovations are happening fast in the automotive industry. Do you know what technologies you can and can't use during your ICBC road test? We take a look at all the details from dash cams to autonomous parking.
